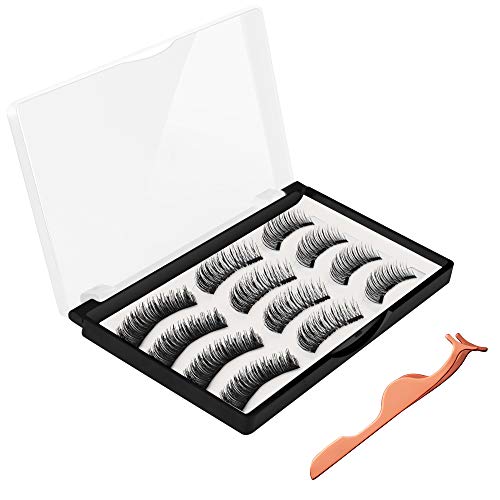
Magnetic False Eyelashes, JDO Upgraded 3D Magnetic Eye Lashes (12 PCS), Reusable Handmade Fake Eyelashes No Irritation No Allergy 3 Styles Lashes with 2 Professional Tweezers for Party Dating Wedding
Book Details
Publisher
JDO
ISBN / ASIN
B07PYXT8QL
ISBN-13
978B07PYXT8Q3
Availability
Usually ships in 24 hours
Sales Rank
#2,587
Marketplace
United States 🇺🇸
Ratings & Reviews
No reviews yet — be the first!
No reviews yet.
Description
❤JDO upgraded magnetic lashes make your eyes natural, glamorous and charming everywhere.❤
No irritation, allergy, glue, pain
Lightweight, soft, reusable, and natural look
Preparation Work:
1. Curl your eyelashes with an eyelash curler, and apply mascara for better looking.
2. Bend the lashes to make them curve around your eyes.
3. DIY the length of the lashes by cutting it into 2-3 parts if you like short lashes.
Applying by Hand:
1. Remove the eyelash carefully from the storage box.
2. Position the top lash over your natural lash, so that the outer edge is in line with the edge of the natural lash line.
3. Leave the top lash where it is and pick up the bottom lash.
4. Place the bottom lash under natural lash, so that it meets and connects with the top lash magnet.
5. Customize the lashes by trimming the ends to fit your desired length.
Applying with Applicator:
1. Take one lash and attach it to one end of the tool. Take the other lash and attach it to the opposite of the tool.
2. Please make sure the lashes are facing downward towards the inside of the tool, so you can clip them around the shape of your eyes.
3. Once they are attached to the tool, place the rounded curve of the tool around the natural curve of your eye and lash line, and simply clip down until the magnets adhere to each other.
4. Gently pull the tool away from eye, being careful not to strip the lashes from the lash line.
Warm Tips:
1. During the transportation process, the lashes may move together, and you can easily adjust the position of them by hands.(The eyelashes are not lost.)
2. The magnetic lashes are connected by tiny magnets that differ from normal false eyelashes, which need more practice and patience, so please watch the related video and description carefully before purchasing them.
We provide 24-hour service, please feel free to contact us with any questions.
Similar Products